Can You Really Make a T-Shirt with AI?
With AI, you can make your own t-shirt even if you can’t draw. I designed mine with AI and then actually had it printed two different ways — once through a print-on-demand service, and once through an online print shop.
It was far easier and more fun than I expected.
It started simply: I couldn’t find a graphic tee I really loved. There are plenty of pretty ones out there, but they were either too expensive, or the design was nice but the color was off, or something was always just a little bit lacking.
“Why don’t I just make my own — and put my own logo on it?”
So I used AI to create the image, added a logo, and had it printed on a real shirt. My child and I even made matching shirts with the same design and wore them as a set.
- How to create a t-shirt design with AI
- Why it works even if you can’t draw
- POD vs. online print shop, compared
- Real cost and quality differences
- Common beginner mistakes
Designing a T-Shirt with AI Is Surprisingly Fun
I’ve been a designer for a long time, but the first time I opened an AI design tool, I had no idea what I was doing. Then I took my first steps, saw the result, and thought, “Wow — designers might be out of a job soon!”
The idea is simple: you describe the image you want in words, and the AI turns it into a picture. What matters now isn’t drawing skill — it’s being able to put what you want into words.
Of course, AI doesn’t do everything well. Text is still a weak spot, especially Korean text. So here’s my approach: I make the artwork with AI, and when I need text or a logo, I add it separately in Illustrator or Canva.
Process of Creating a T-Shirt Graphic with AI
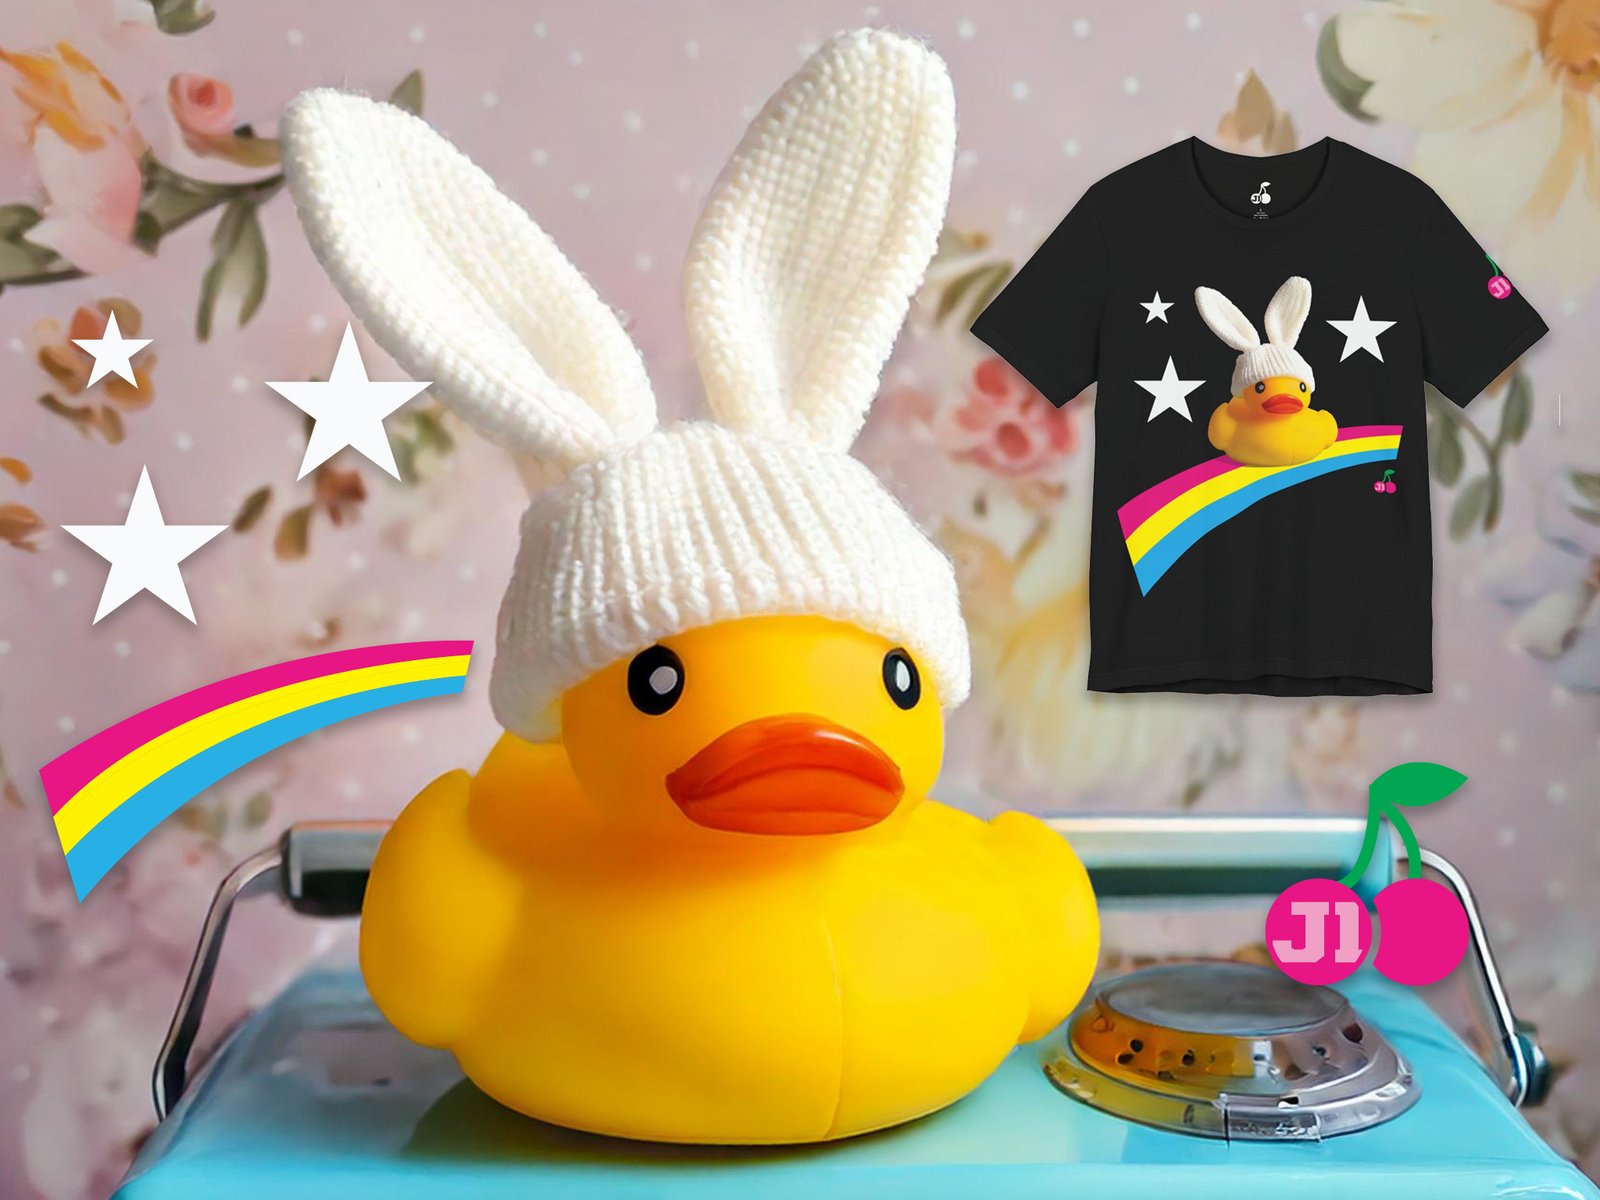
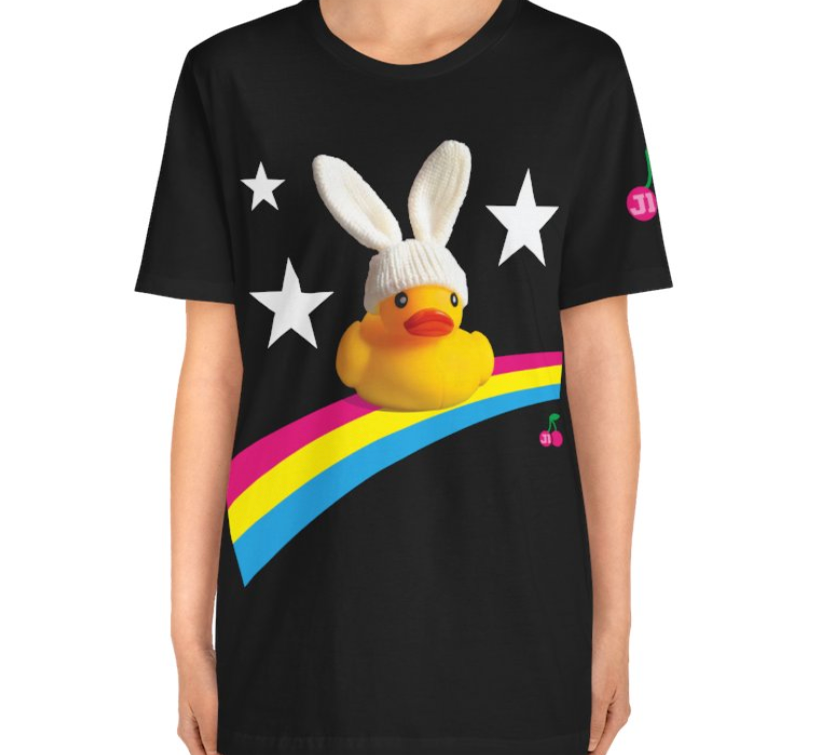
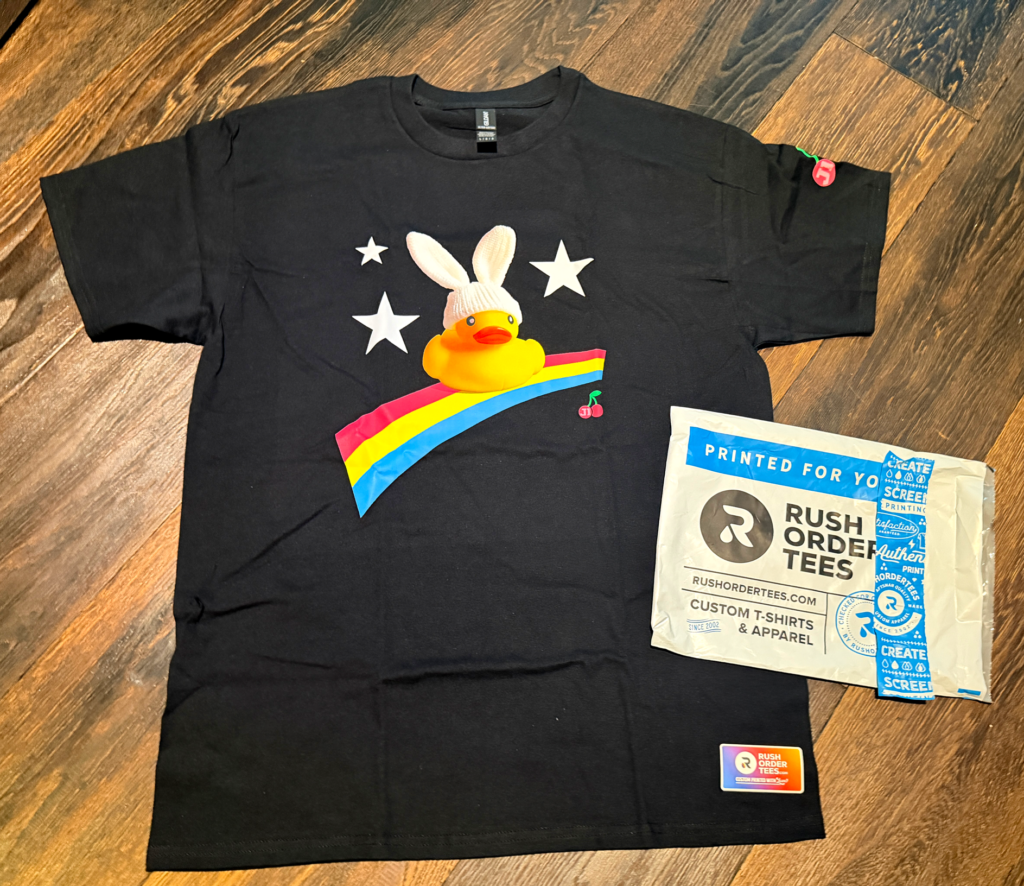
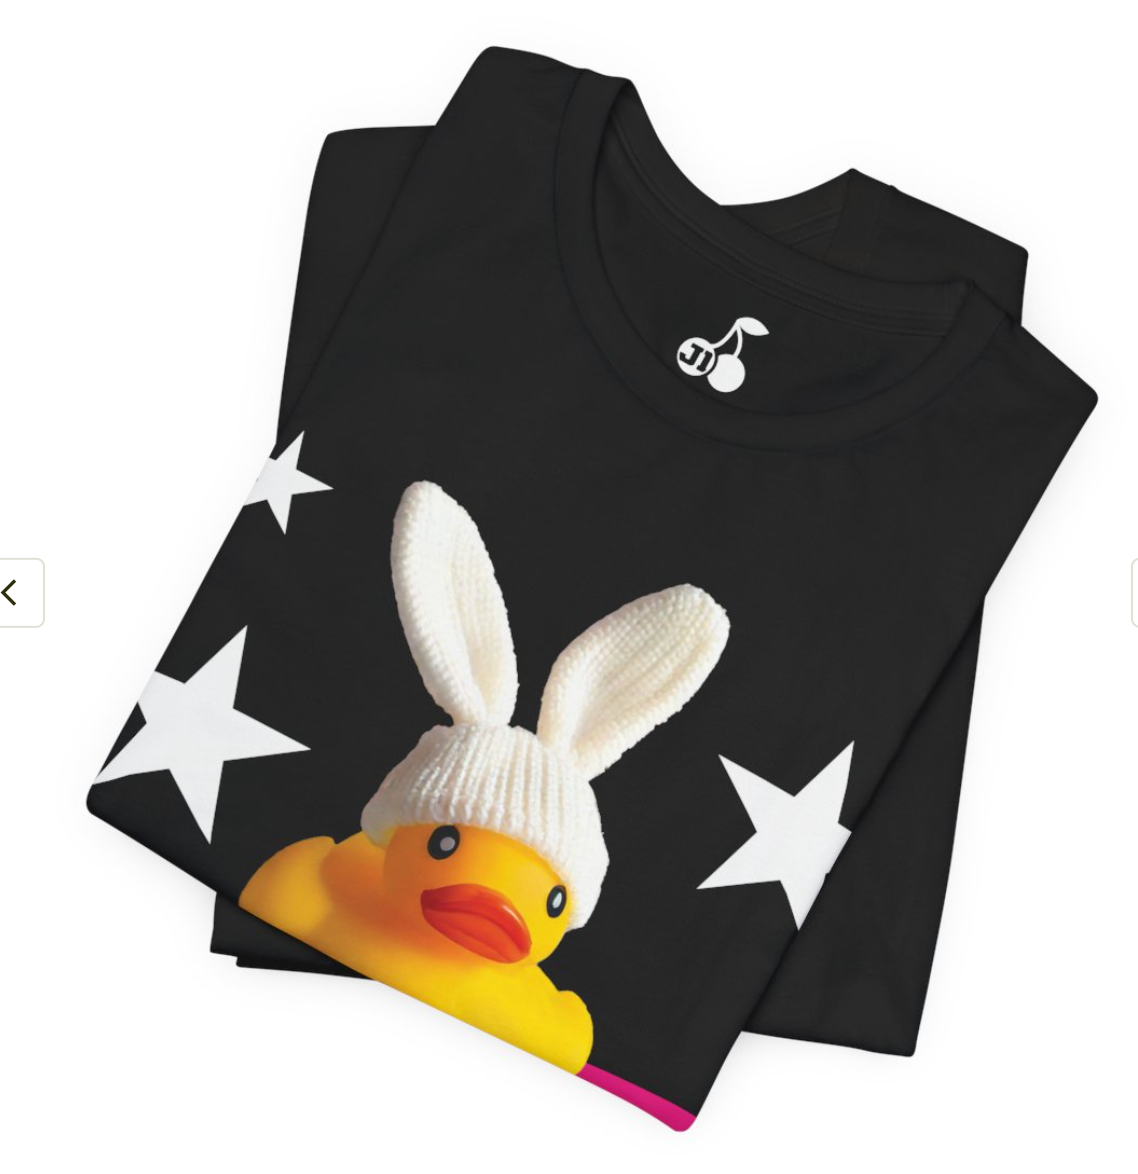
I experimented with different prompts in Adobe Firefly until this cute
little duck wearing bunny ears appeared. It immediately caught my eye
and felt perfect for a t-shirt design.

Step 1. Generate an Image in Firefly
For this design, I started with an image generated in Adobe Firefly,
removed the background in Photoshop, then added a few decorative elements
in Illustrator before exporting the final artwork as a transparent PNG
ready for printing on a t-shirt.
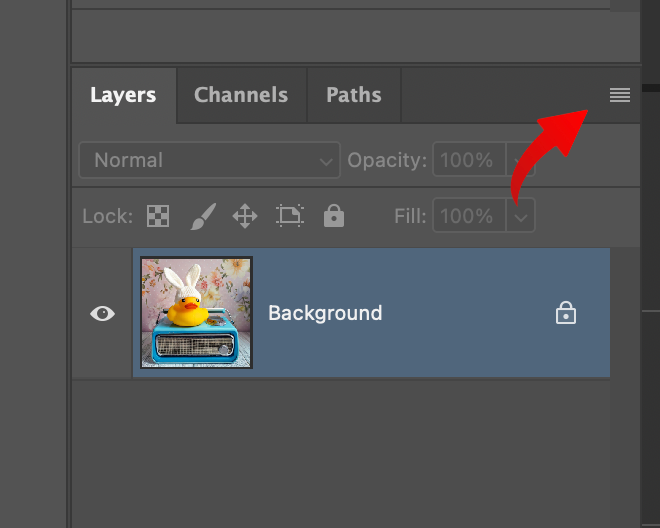
Step 2. Open the Image in Photoshop, go to layer pannel menu
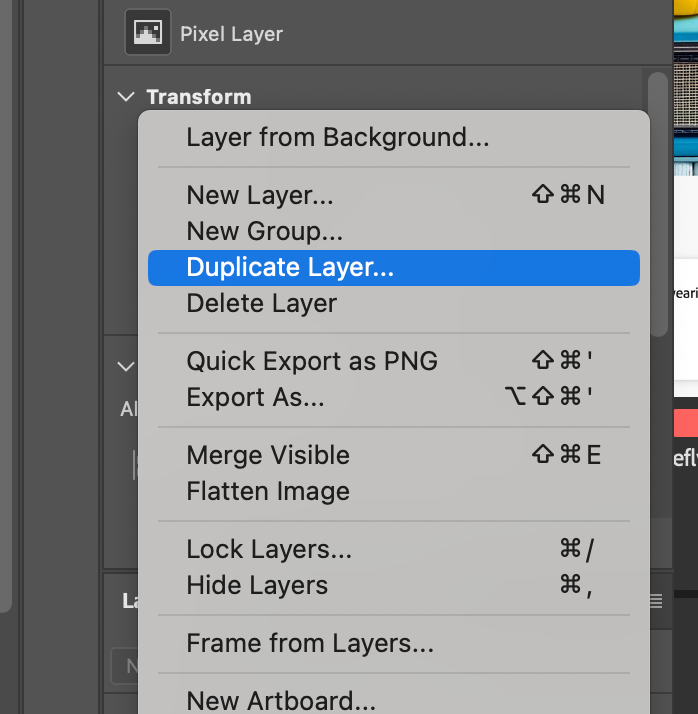
Step 3. Duplicate layer
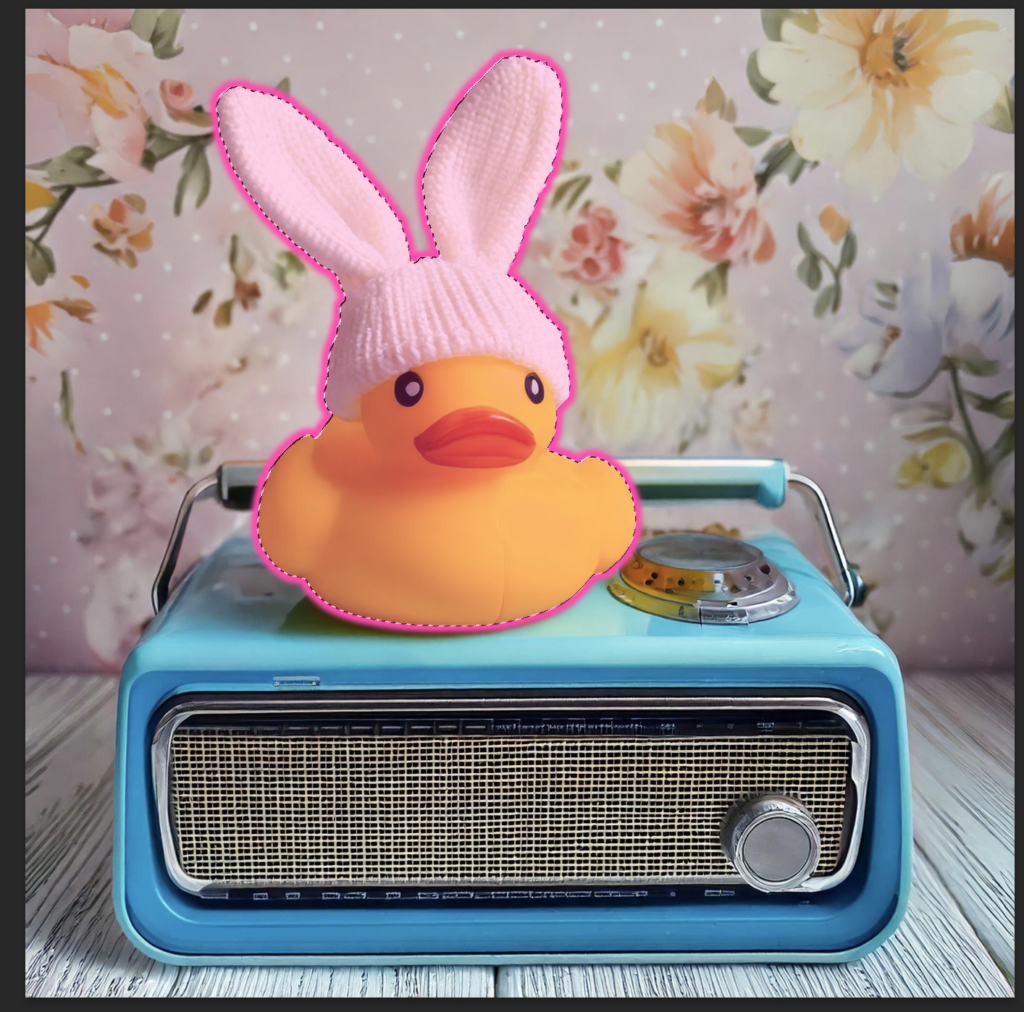
Step 4. select object with object selection tool
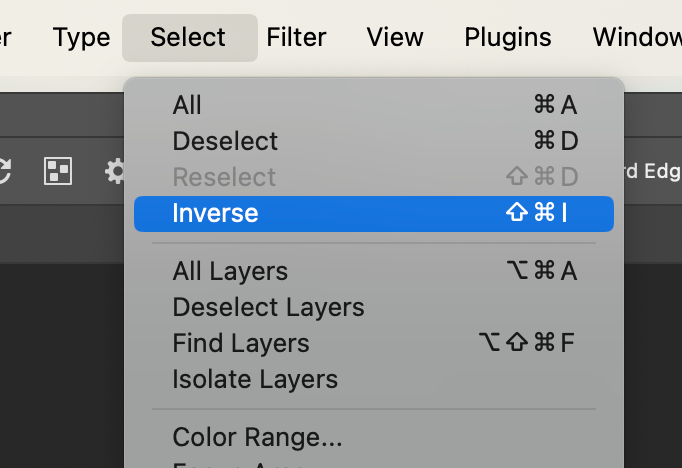
Step 5. inverse selection
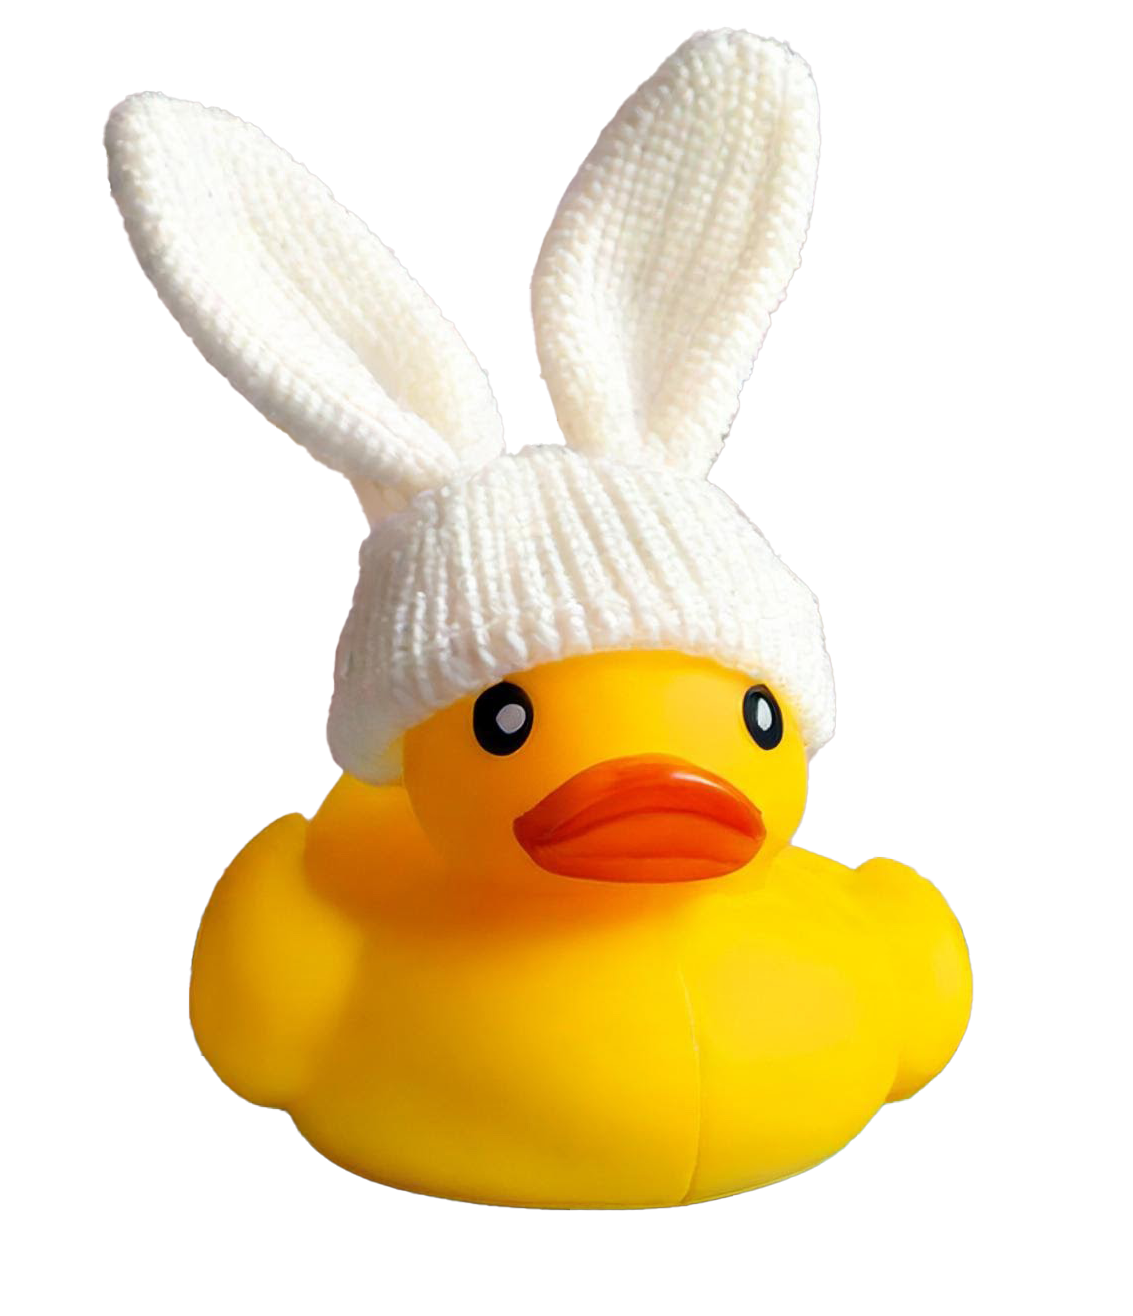
Step 6. delete background
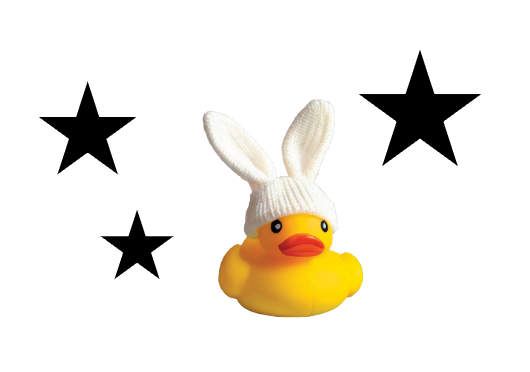
Step 7. decorate image in illustrator and export transparent background png.
A Few Little Tricks I Use When Designing
At first, I typed something vague like “make a pretty, cute design.” The results were forgettable. What I learned is that the more specific you are, the better it gets.
- Style: watercolor, line drawing, vintage, minimal
- Color: warm pastel tones, black and white, soft neutrals
- Subject: spell out exactly what you want drawn
To print on a shirt, you’ll want a high-resolution file, ideally 300 DPI, with a transparent background.
Turning Your Design into a Real Shirt
Method 1. Print-on-Demand Service
POD stands for “print on demand.” The shirt is printed one at a time, only when an order comes in. You upload your design, and they print it and ship it to your door.
What I really liked was the flexibility. I could order just one shirt without committing to a large quantity, and I had the option to print my design on all kinds of products, from tote bags to mugs and other custom merchandise.
On the other hand, shipping can take a while, especially with overseas print-on-demand services. The colors may not match your screen perfectly, and ordering a single item is usually more expensive than buying in bulk. Still, for testing a new design, I found it well worth it.
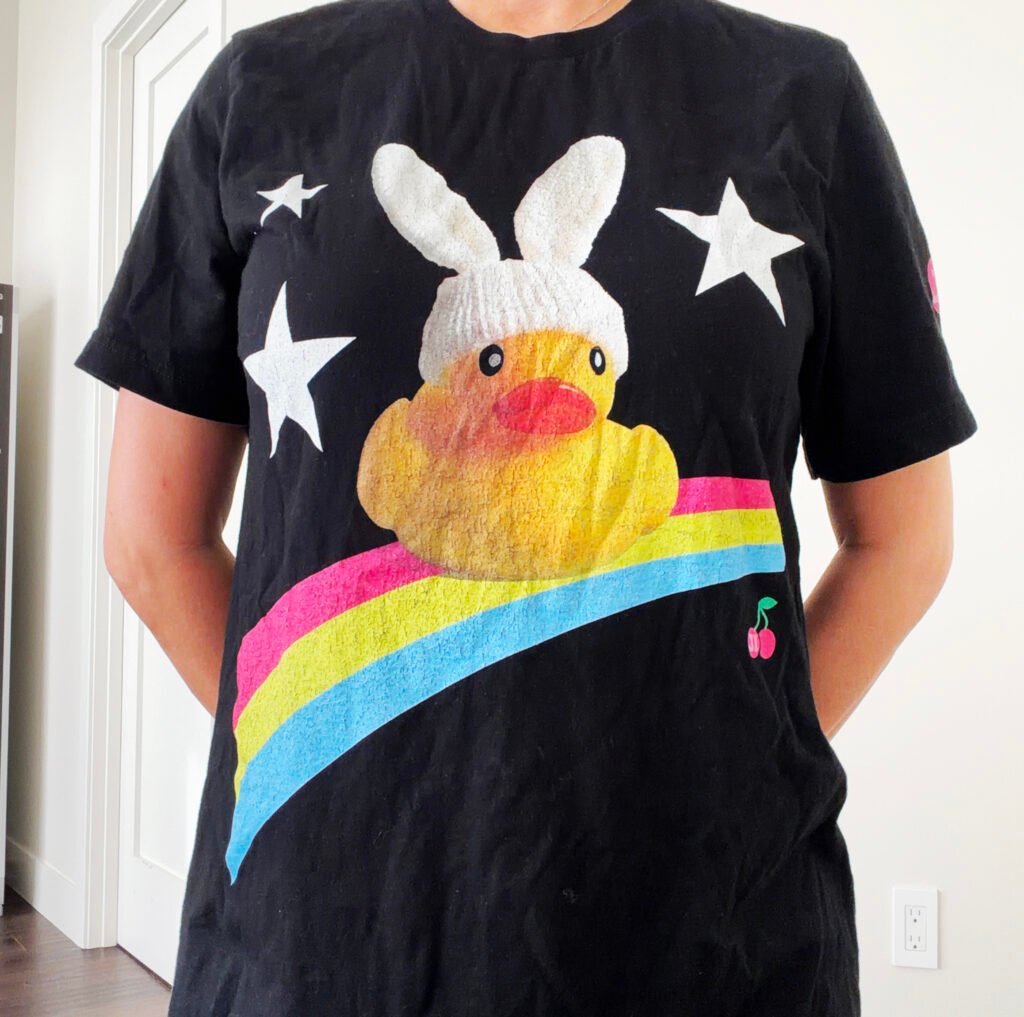
Method 2. RushOrderTees
The second method is uploading your design to a dedicated print website like RushOrderTees. I came to it because I had been helping with my child’s school golf team shirts, and this was the company whose print quality I liked best.
What stood out to me most was the excellent print quality. It’s a great option when you need several shirts for a team, school event, or family gathering. I also appreciated how quickly the order arrived, especially when there was a specific deadline to meet.
The trade-off is that it’s not really designed for one-off orders, and the selection of products is more limited compared to print-on-demand platforms. If you’re looking for mugs, tote bags, and a wide variety of custom merchandise, POD services offer more flexibility.
The 2 Printing Methods, Compared
| Factor | POD | RushOrderTees |
|---|---|---|
| Best quantity | Even a single shirt | Several shirts / group tees |
| Product range | Shirts, bags, mugs & more | Mostly apparel |
| Print quality | Varies by service | Very satisfying in my case |
| Can you sell it? | Yes, with no inventory | Best for personal or group use |
POD
Rush Order Tee
Printing Tips Worth Knowing
- Always check resolution. Low resolution is usually why prints look blurry.
- Don’t fully trust screen color. Printed colors can look different.
- Plan your orders. Testing several shops can add up quickly.
- Practice with many designs. Then print the one you truly love.
Frequently Asked Questions
Can I really do this if I can’t draw?
Yes. Drawing skill is not required. Describing what you want in words is the most important part.
Can I sell the shirts?
Commercial-use policies vary from one AI tool to another. If you plan to sell your designs, be sure to review the terms of service for the specific tool you’re using.
For personal use, gifts, or making something for yourself, there are usually no issues. In many cases, when you take an AI-generated image and modify it, refine it, or incorporate it into your own design, it becomes a more personalized creation. However, whether that final design can be sold commercially still depends on the licensing terms of the AI tool, so it’s always safest to check the official policy.
One reason I like print-on-demand (POD) services is that you can start selling without keeping inventory. You don’t need to stock products or invest in large quantities upfront, which makes it an easy and low-risk way to get started.
Which AI tool should I use?
There are plenty of tools you can start with for free.
For this shirt, I used Adobe Firefly and Illustrator. You can also try Midjourney, ChatGPT, Gemini, or other image tools depending on your style.
But Adobe isn’t the only option anymore. AI image generators have improved so much in the past few years that I can only imagine the kinds of amazing designs you could create with tools like ChatGPT, Midjourney, Nano Banana, or Gemini.
Each tool has its own strengths and personality, so my advice is simple: try a couple of them and see which one feels most natural to you. The best AI tool is often the one that fits the way you like to create.
Final Thoughts
If you’ve ever felt disappointed because you couldn’t find a design you loved, try making one yourself. Even if it isn’t perfect the first time, it becomes something personal.
That is what made this project so joyful for me. It wasn’t just a t-shirt. It was something I imagined, designed, printed, and wore. it could be good gift for your precious friends, too
One small idea became something I could actually wear.