I Designed My Own Fabric with AI — and Then Sewed It Into a Dress

I’ve been taking sewing classes lately — learning pattern drafting and alterations. One day I brought my own fabric to class, and my teacher stopped and looked at it.

“This pattern… it’s so unique and pretty. Did you design this yourself?”

Yes, I did 
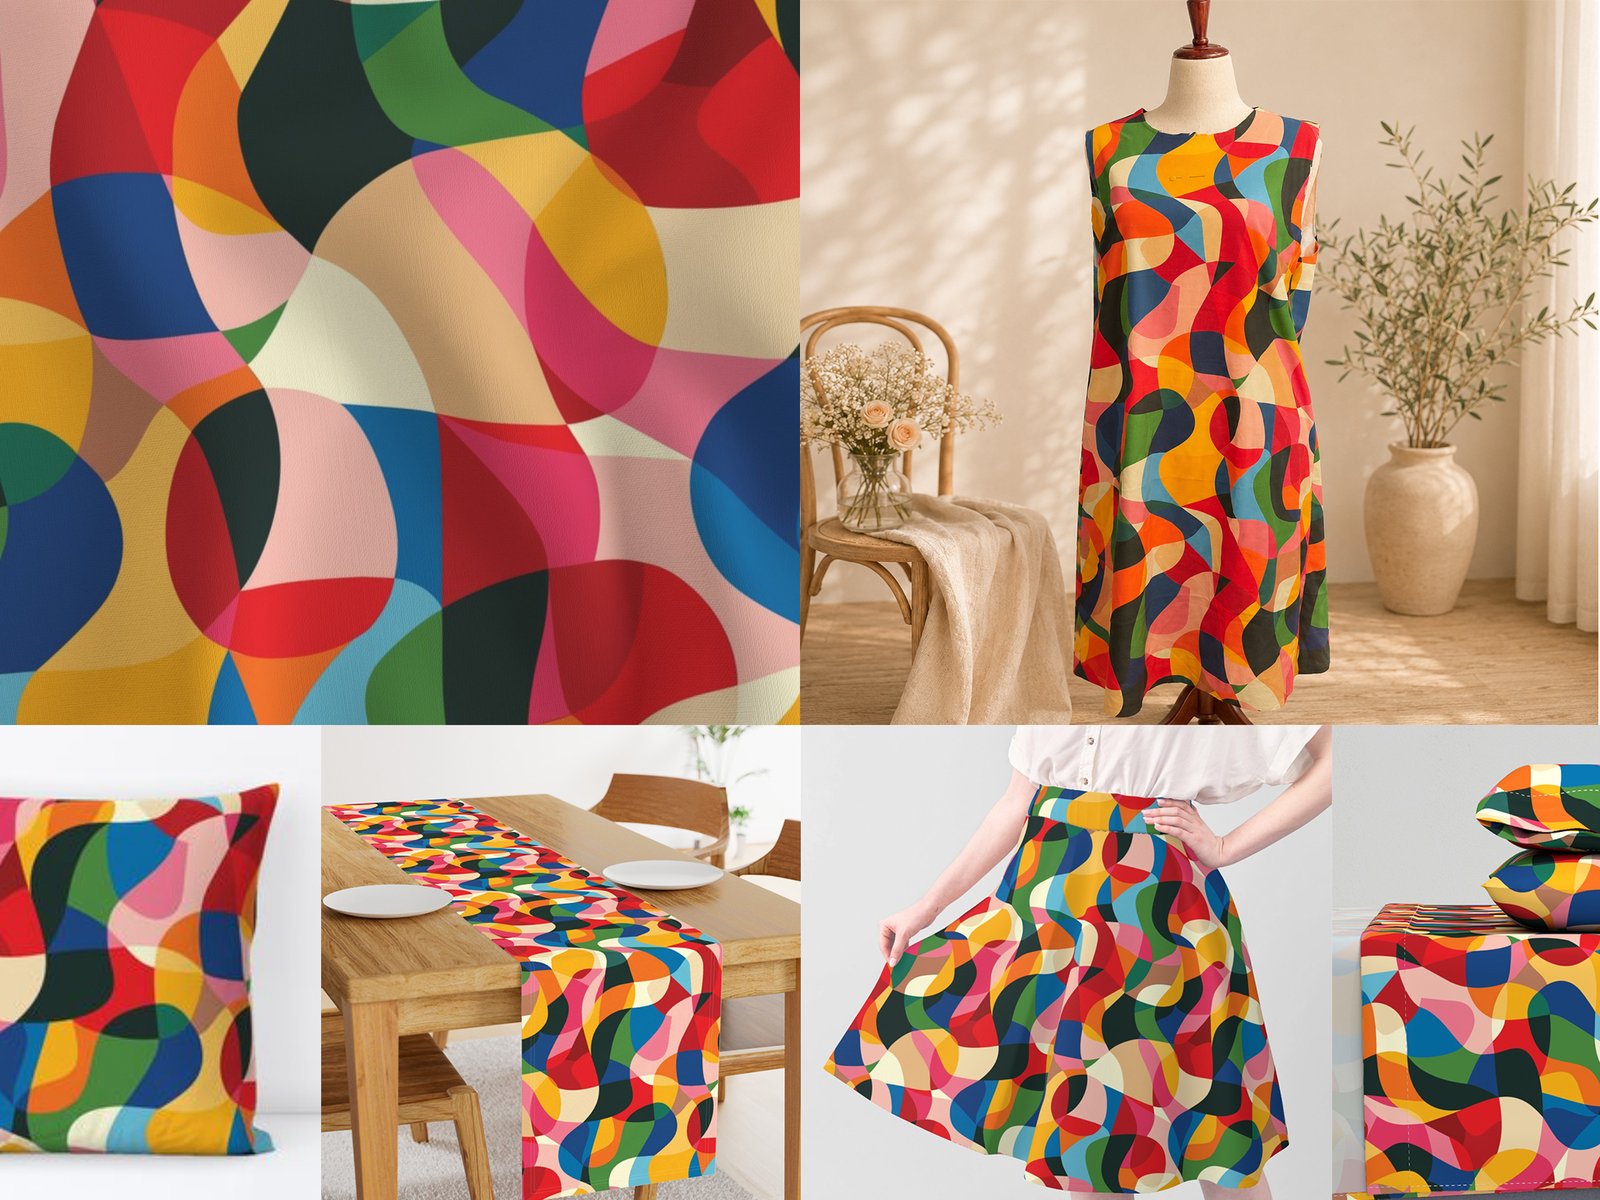
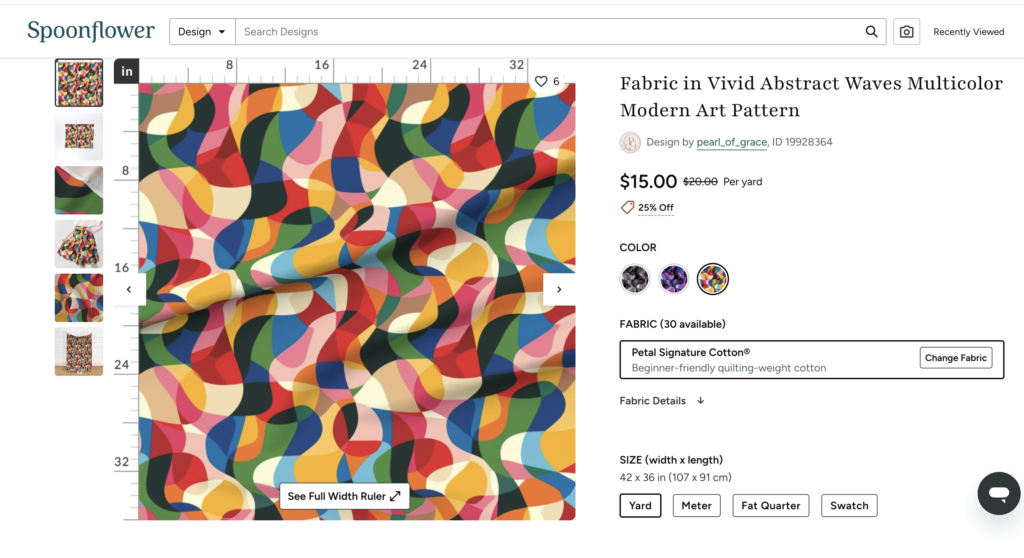
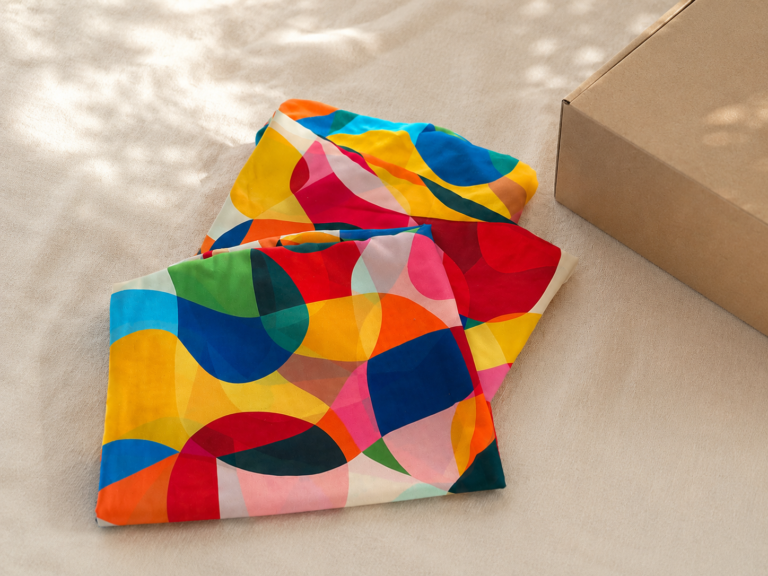
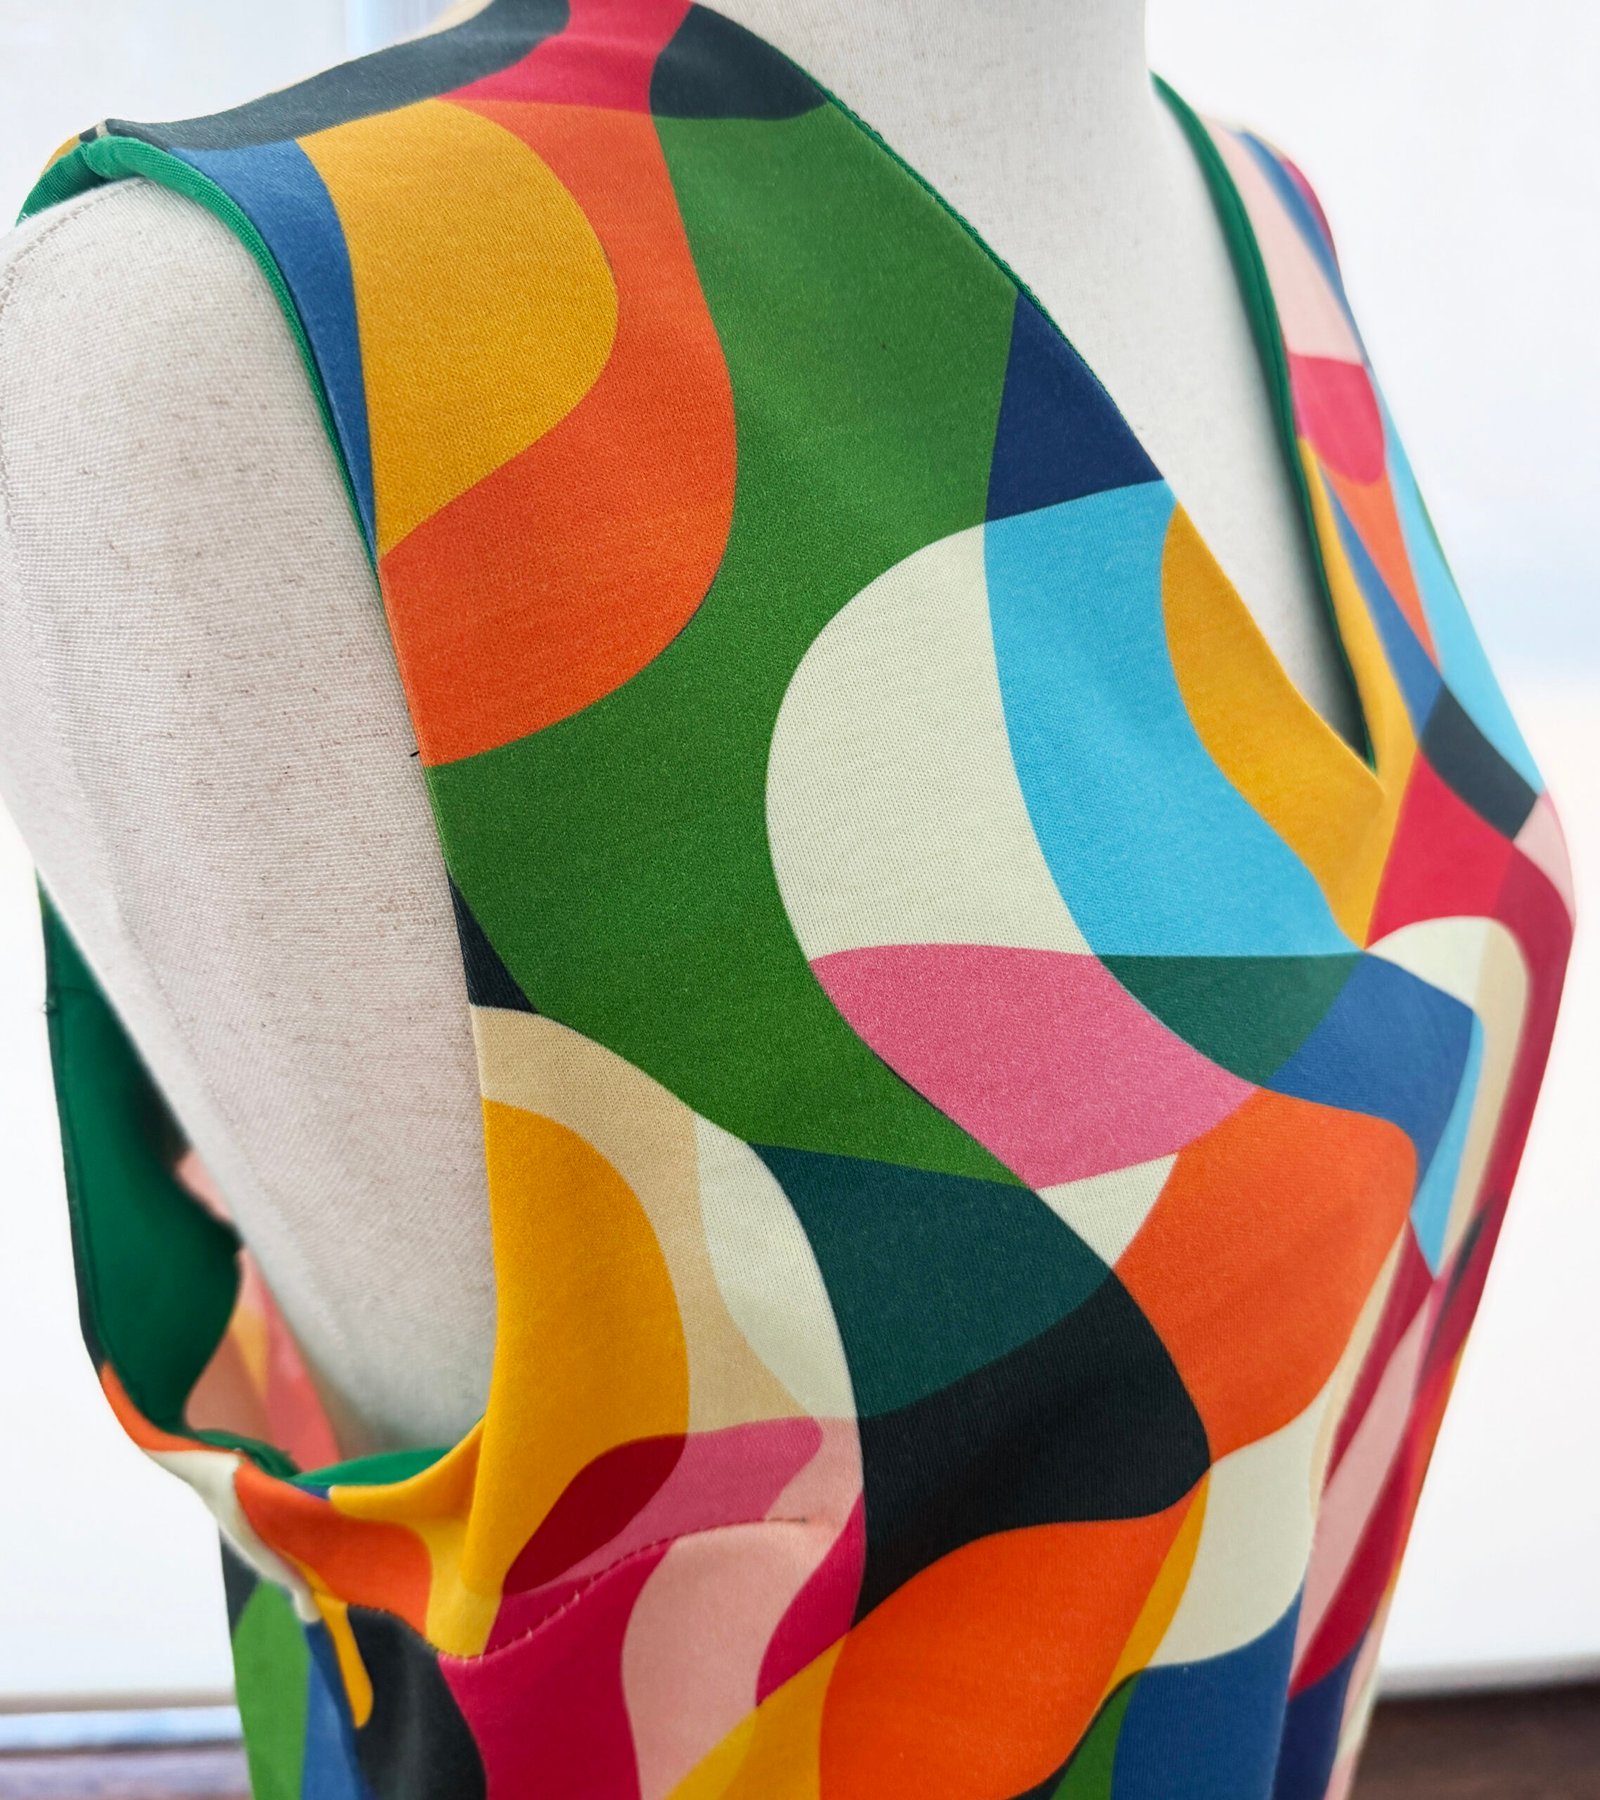
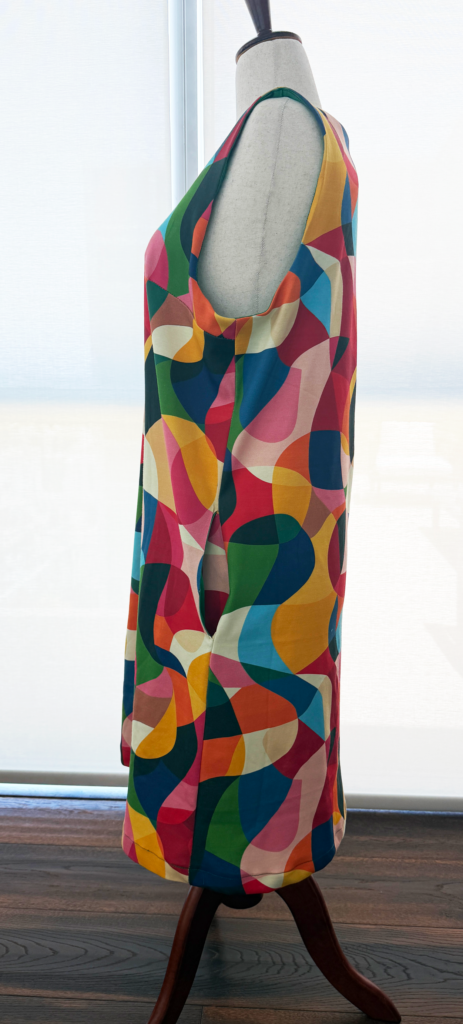
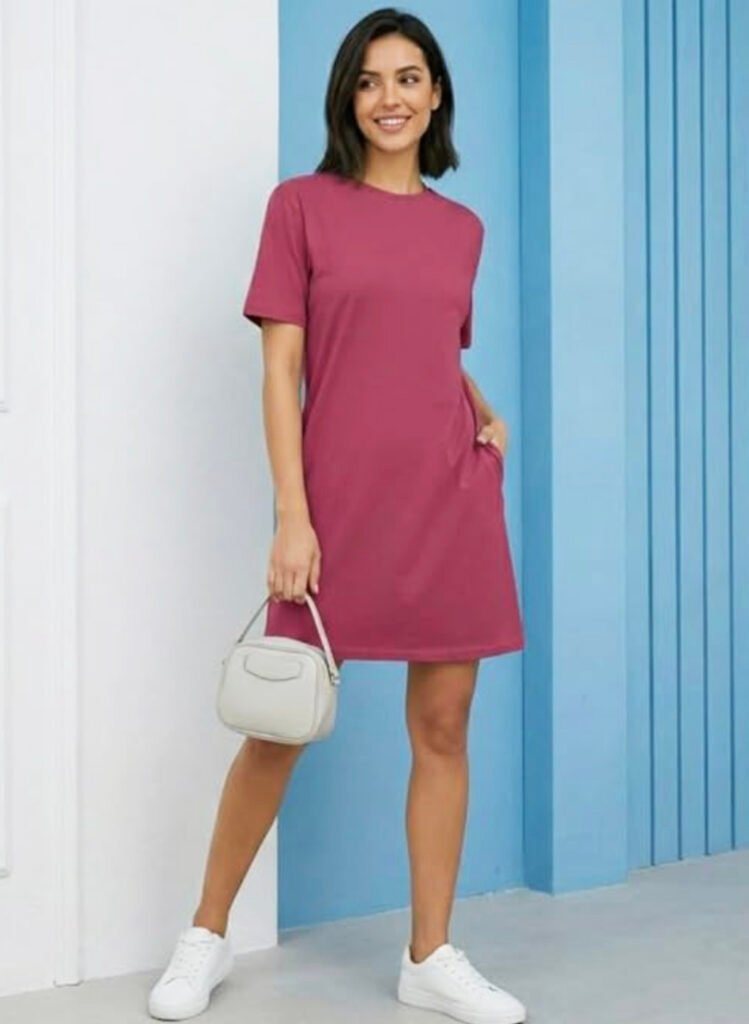
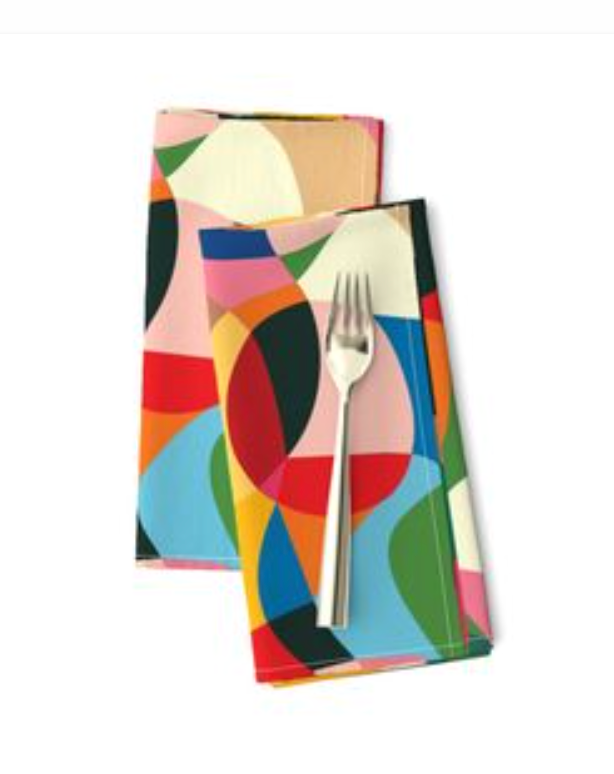
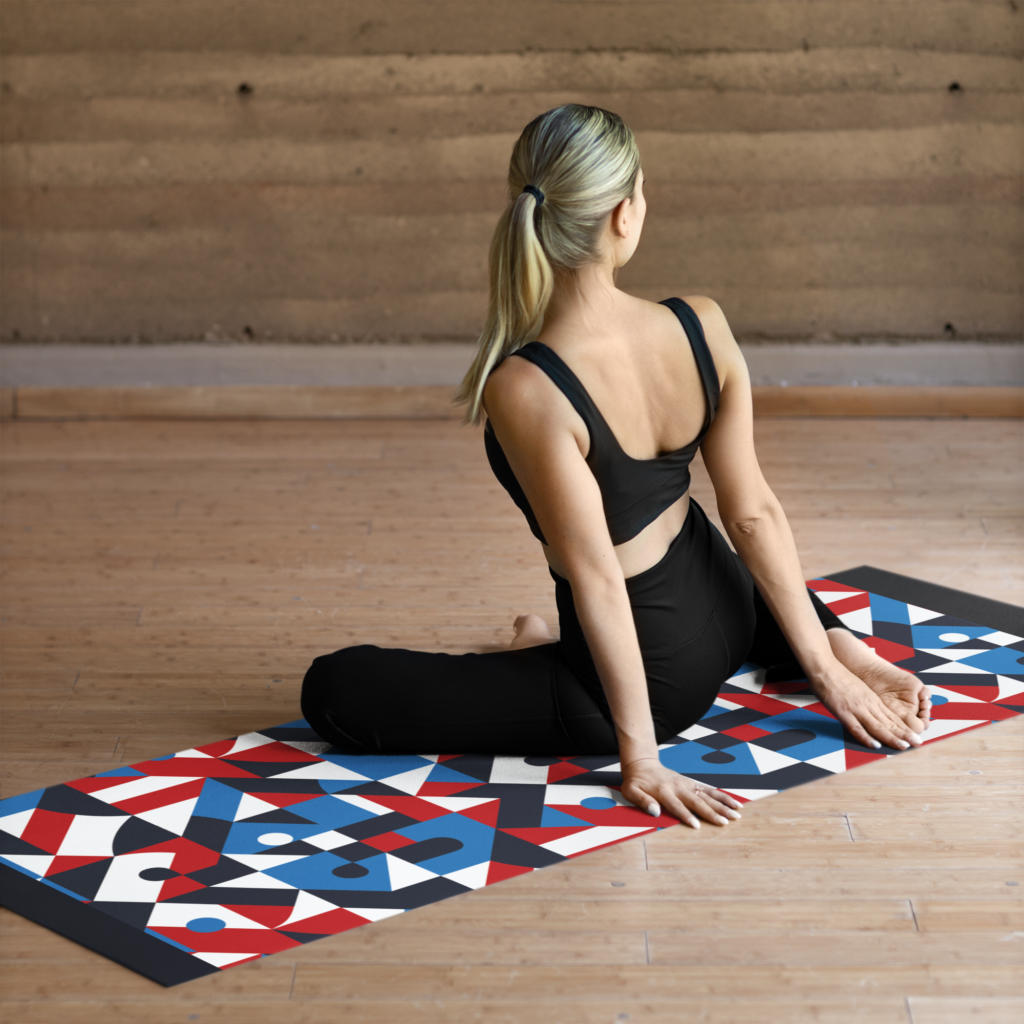
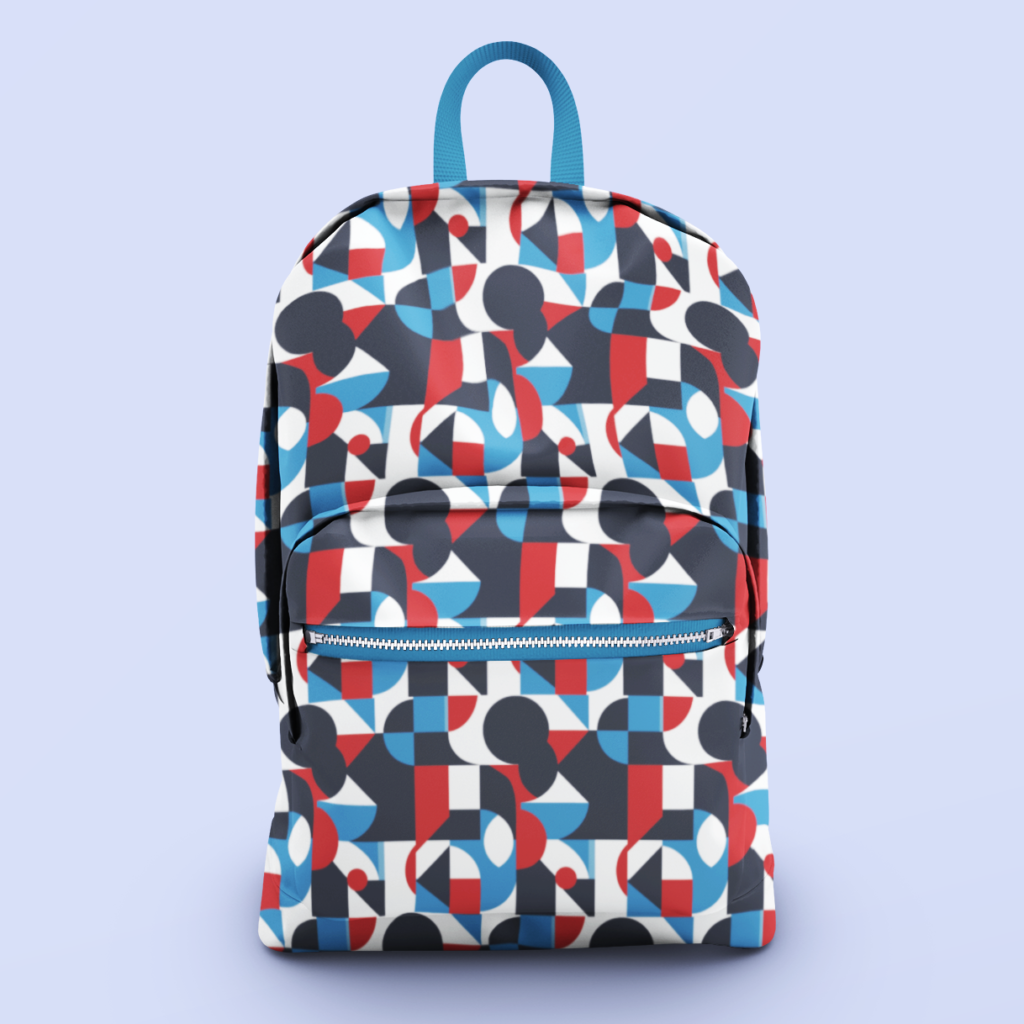
That colorful, vibrant abstract print started from a single prompt I typed into Midjourney. It felt like being a real fabric designer — and honestly, I surprised myself. 
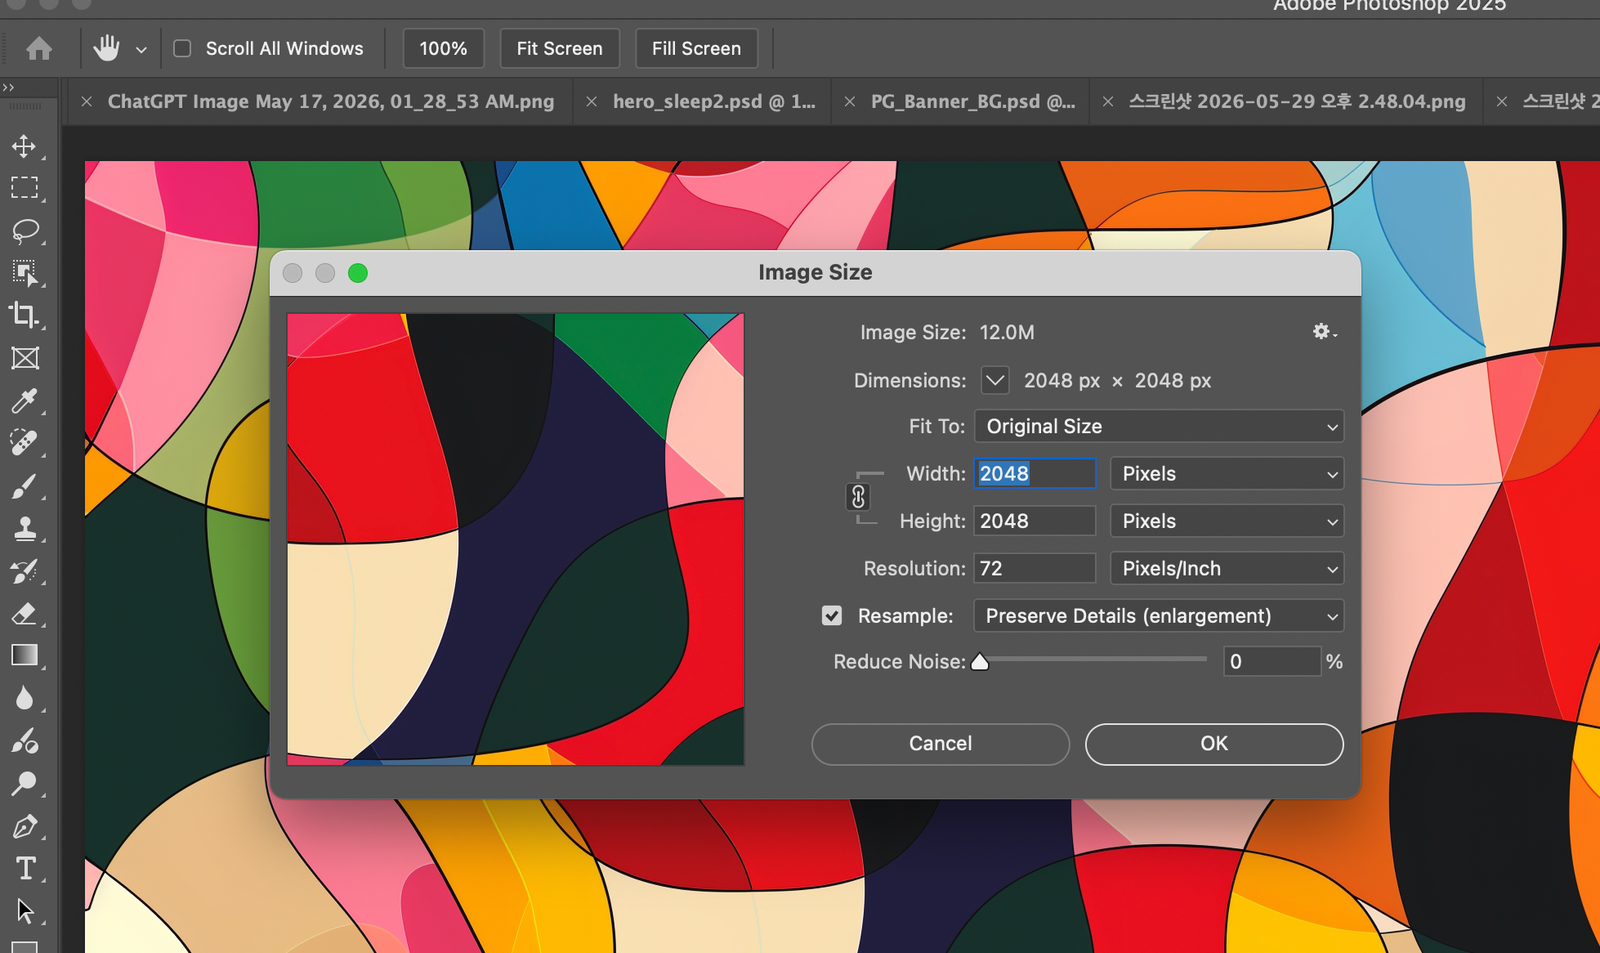
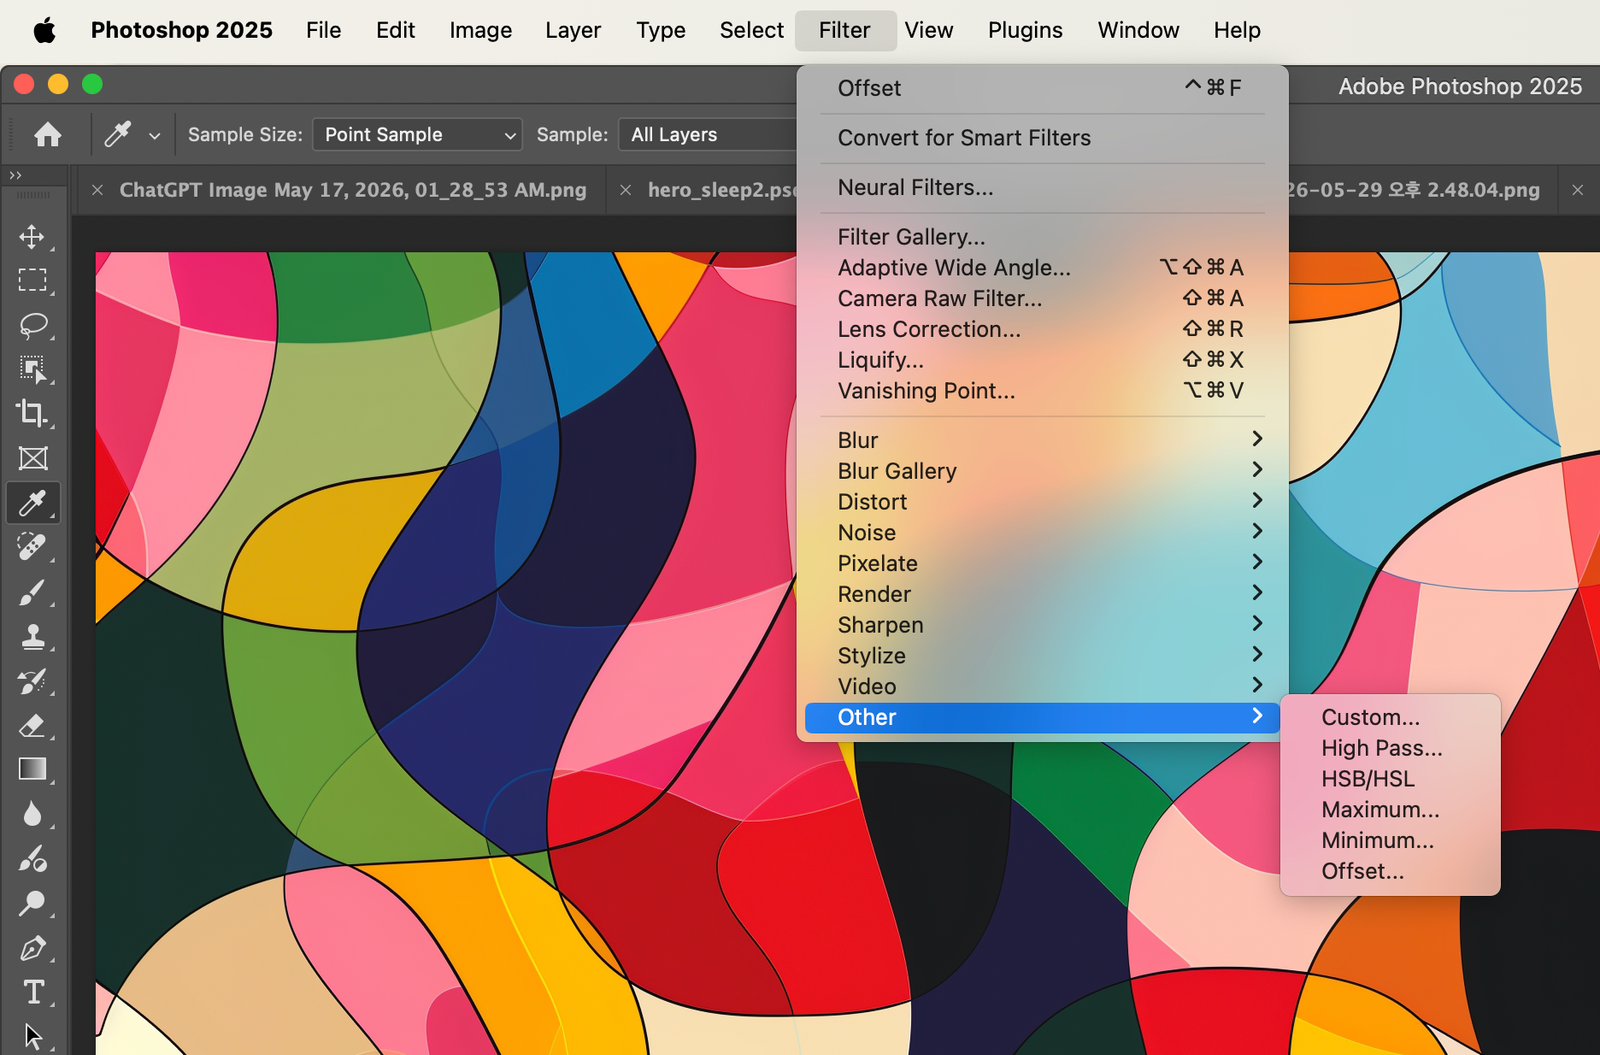
Today I want to walk you through the whole process from start to finish — AI pattern design → file prep → Spoonflower upload → fabric printing → sewing the dress. All of it, step by step.

Why I Wanted to Design My Own Fabric

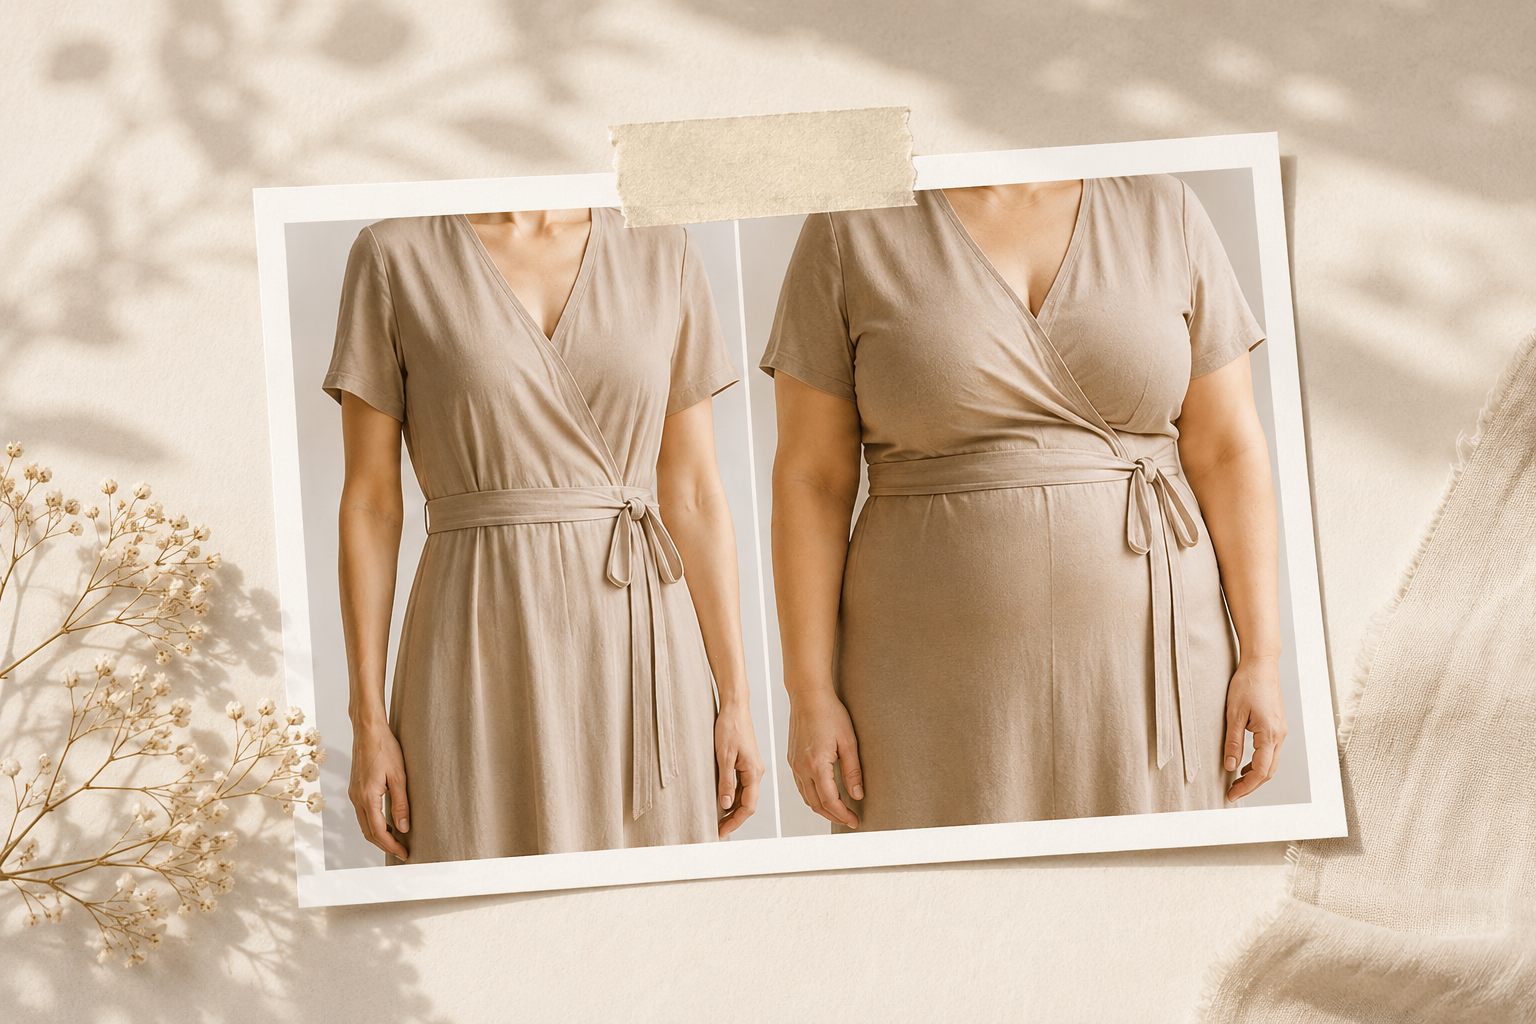
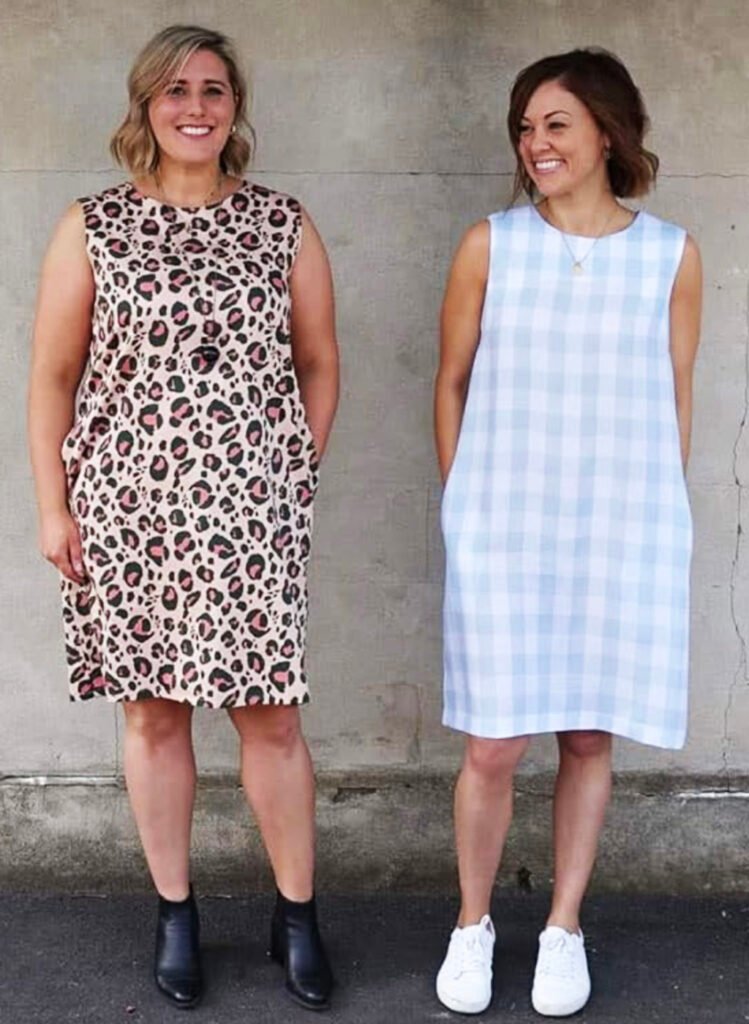
As I’ve gotten older, my body has changed, and a lot of the clothes that look beautiful in stores just don’t work for my shape anymore. So I started learning to sew — to make things that actually fit me.

But finding the right fabric was its own challenge. The color might be close but the scale is off. The pattern is cute but the colors are muddy and wash out my skin tone. You end up compromising.

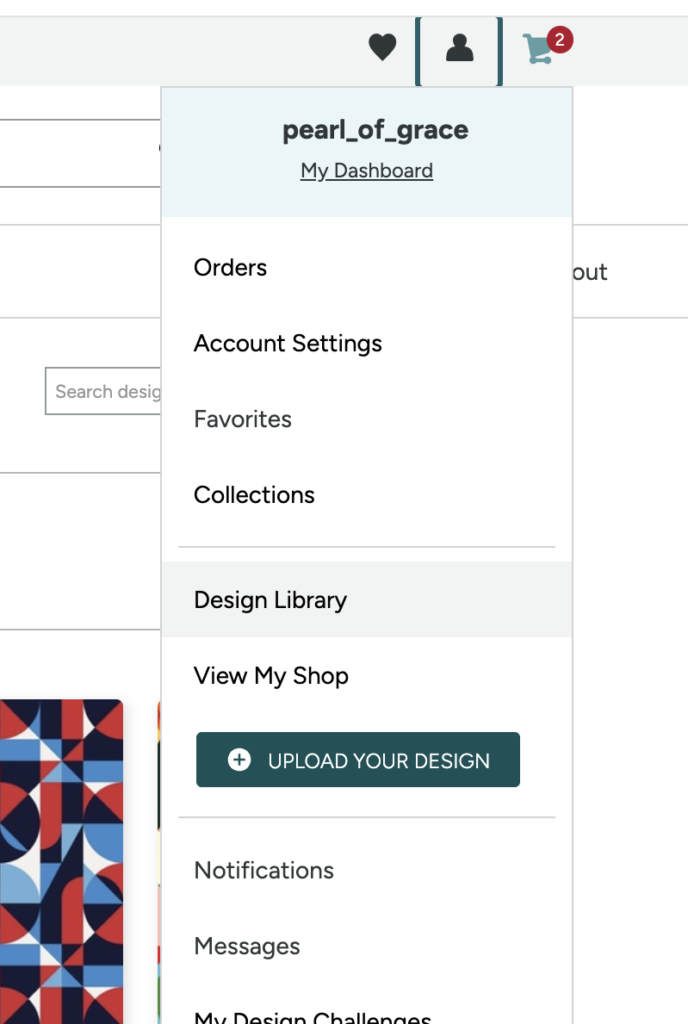
Then one day, while I was playing around with Midjourney — just testing different ideas for fun — I tried generating a textile pattern. And I realized I could have it printed on real fabric through Spoonflower. That was the moment everything clicked.

Living with AI, playing with AI, enjoying AI as a hobby — I’m still learning too, but I wanted to share this with you. 😄

1

Designing the Pattern in Midjourney

Why Midjourney?

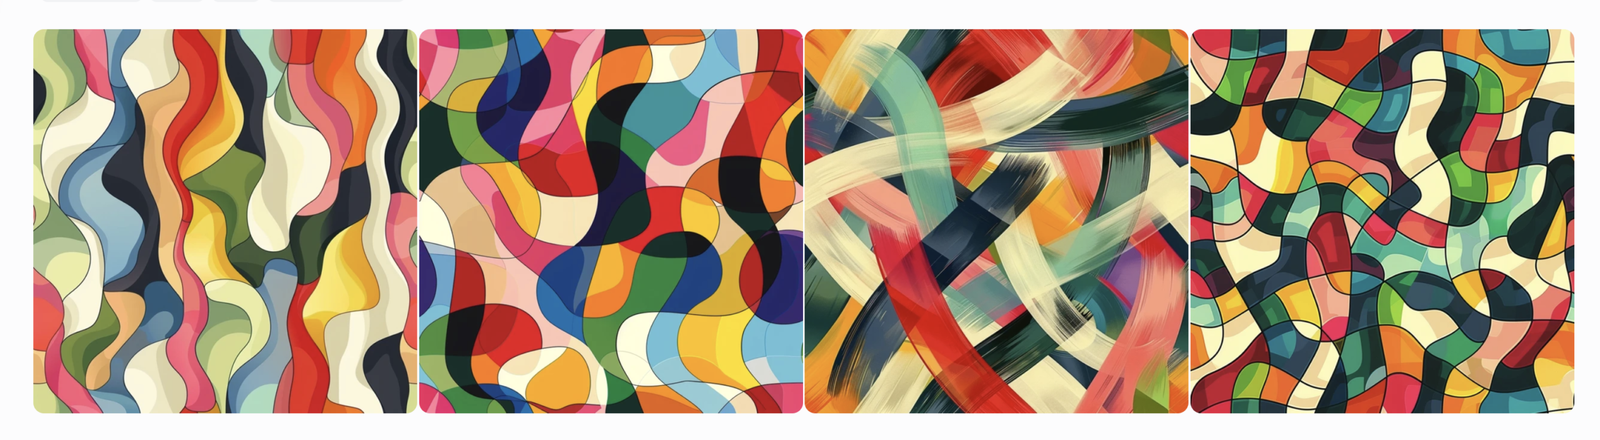
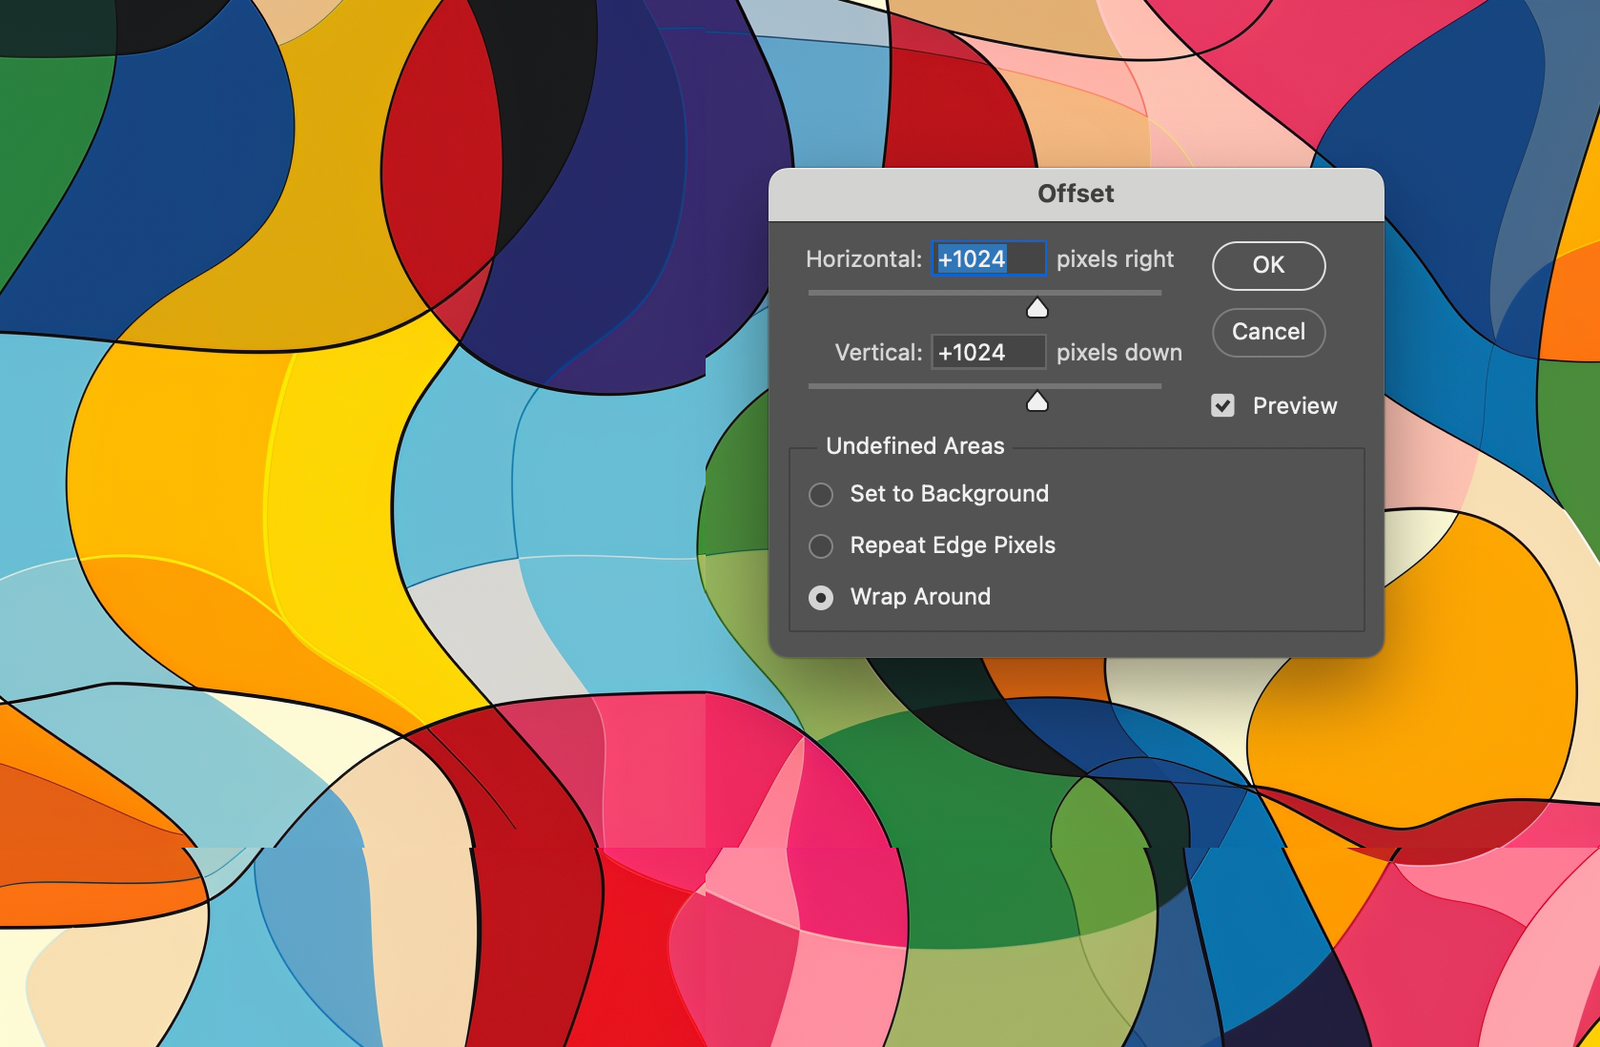
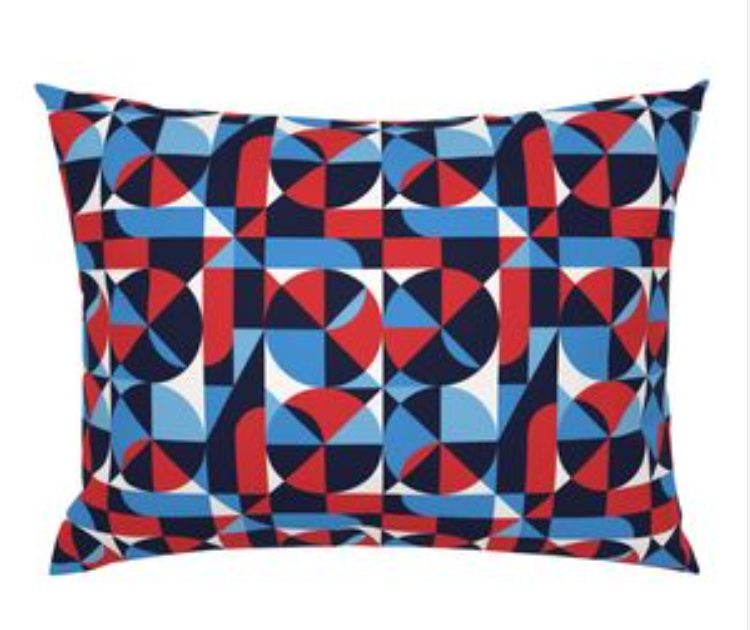
There are several AI image tools out there, but Midjourney was what I was using at the time, and I was happy with the results. (I’m planning to try other AI tools for textile patterns too — more posts to come!) The colors are rich, the forms feel organic, and most importantly, it creates seamless repeating tile patterns — which means no matter how many yards of fabric you print, the design connects perfectly at every edge.

If I had drawn this by hand on a computer, it would have taken so much longer. That’s one of the biggest advantages of AI pattern design — it saves you time and leaves more room to experiment.

The Prompt I Used

abstract textile design, overlapping geometric shapes with curved edges, 

colorful ribbon-like strokes, vibrant color palette of red, pink, green, 

blue, beige, irregular geometric forms, seamless repeat pattern, 

flat vector style, no gradient, clean outlines 

–chaos 5 –raw –stylize 500 –tile –ar 1:1 –v 6

Key things to know:

– `–tile` is essential — this is what makes the pattern repeat seamlessly across fabric

– Writing `seamless pattern` in plain words helps Midjourney prioritize clean edges

– Be specific with colors — vague descriptions give vague results

– `–ar 1:1` keeps things square, which makes Spoonflower setup much easier

4 variations with the prompt

picked and enlarged one 

Choosing Your Pattern

Midjourney generates 4 variations at once. Pick the one you love, upscale it (U1–U4), and save it. I ran several rounds and picked the combination of colors and shapes I liked best.

Tip: Once you find a pattern you like, use “Vary (Subtle)” to get slightly different versions in the same mood — great for building a coordinating fabric collection.

2

Preparing Your File

I did this step in Photoshop.

In Photoshop, I used the Offset filter to check that the tile repeated seamlessly — and made corrections where needed. In my case, I also removed some thin black outlines in the pattern that I wasn’t happy with.

(images on the top) image size and resolution.
(images on the bottom) offset filter
Open the image in Photoshop and check that the canvas size is 2048 × 2048 pixels . Then go to Filter → Other → Offset and set both the horizontal and vertical values to 1024 pixels . This moves the pattern seams to the center, making it easy to check whether the pattern repeats seamlessly. After inspecting the seams, clean up and fix any visible joins or mismatched areas. Once the edits are complete, apply the Offset filter again with the same values to move the pattern back to its original position. Save the file, and you will have a seamless repeating pattern with no visible seams.

Resolution: Minimum 150 DPI (set in Photoshop Image Settings). 

Format: PNG recommended — Midjourney saves as PNG by default, and it’s best for patterns with transparent backgrounds.

Color mode: sRGB — Midjourney files are already in sRGB, so no conversion needed.

Tip: After uploading, Spoonflower shows a Color Map preview — it won’t be a perfect match to the final print, but it gives a helpful general sense.

3

Uploading to Spoonflower and Ordering

Spoonflower is a US-based service that prints your designs onto real fabric, wallpaper, and home deco. You can also sell your design.

Upload file to print

more files I made

Choosing Your Fabric

30 fabric types are available on Spoonflower. Belgian Linen™, Celosia Velvet®, Chiffon, Cotton Lawn, Cotton Poplin, Cotton Silk, Cotton Spandex Jersey, Dogwood Denim®, and many more. For my first order, I chose Organic Cotton Knit and also ordered Poly Crepe de Chine and Chiffon . They were pricier, but the print quality was beautiful on all three. Check out the video below where I compare the fabrics I ordered.

A sleeveless dress typically needs about 2 yards— that’s what I ordered for mine.

Test Swatches (under $5)

let you see a small sample before committing — definitely worth it for a first order.

7–10 business days

is the standard turnaround time, including printing and shipping.

Subscribe to Spoonflower‘s newsletter

— they regularly send discount codes, and first-time orders sometimes include special promotions.

4

When the Fabric Arrived

Yesss! Time to sew! 🎉 I genuinely don’t know why making clothes makes me so happy. I think if I had gone into garment-making professionally, I wouldn’t have regretted it for a second. (Though I loved my actual career too — more on that another day. ^^) Opening that box and unfolding the fabric — seeing the exact pattern I had created weeks earlier, printed right there on real cloth — was something else. The colors were even more vibrant and beautiful than I expected. It just works. That’s the only way I can describe it.
5

Sewing the Dress

When your fabric has a bold, colorful print like this, the silhouette should stay simple. The pattern is the statement — the construction just needs to let it shine. And for my body shape, a relaxed, unfitted style works best anyway. I chose a sleeveless straight shift dress — clean lines, easy to sew, flattering in all the right ways. When I showed the fabric to my sewing teacher, she was genuinely impressed and a little envious. Coming from someone who teaches garment-making professionally, that reaction meant a lot — it was both a little embarrassing and very satisfying. 😄

Tip:

Pre-wash your fabric first- it can shrink, and you want that to happen before you cut

Check your print direction before cutting each piece — with a bold pattern it’s easy to accidentally cut a panel upside down

As an Amazon Associate, I earn from qualifying purchases at no extra cost to you.

Looking for a sewing pattern that works beautifully with a bold printed fabric? Here are my top picks for a shift dress — all flattering, relaxed fits that let the fabric do the talking.

The pattern was mine. The fabric was mine. The sewing was mine.  

Start to finish — I made this.

And there’s only one like it in the world.

As I’ve gotten older and started learning new things, what I keep discovering is that technology like AI isn’t just for younger people. Even those of us with different experiences and backgrounds can find unexpected joy in it — a new creative hobby, a new way to use what we already know. The things you’ve spent your whole life building don’t disappear. They just find new ways to come forward.

 
You might enjoy this journey if…
You’re tired of compromising on fabric that’s
almost right, but not quite.
You’re curious about AI but want to use it for something you can actually touch.
You’re a sewist looking for a creative new challenge.
You want to give a truly one-of-a-kind handmade gift.
You want to say “I made this” — and mean every single part of it.

The more you can do

Would I do it again?

Absolutely.

Creating my own fabric turned a simple sewing project into something deeply personal.

And now every time I wear this dress, I’m wearing something that started as an idea in my imagination.

Related Posts

healing-Items

healing items

Better Sleep, Better You | Pearl of Grace Living AI MUSIC & WELLNESS Better Sleep, Better You ✦ Healing Items

Read More

Leave a Reply

Your email address will not be published. Required fields are marked *

Join Our Newsletter